Introduction
Visual Studio Code (VS Code) has become one of the most popular code editors among developers worldwide due to its speed, features, and flexibility. Whether you’re a beginner or an experienced developer, installing VS Code is the first step to enhancing your productivity. This guide will walk you through the system requirements, installation process, and provide you with the download link to get started.
System Requirements for Installing VS CodeBefore downloading and installing VS Code, it's essential to ensure that your system meets the necessary requirements. Here are the minimum specifications for running Visual Studio Code on various operating systems:
VS Code System Requirements for Windows
- OS: Windows 7, 8, or 10 (64-bit)
- RAM: 1 GB minimum
- Disk Space: 200 MB minimum
VS Code System Requirements for macOS
- OS: macOS 10.11 (El Capitan) or later
- RAM: 1 GB minimum
- Disk Space: 200 MB minimum
VS Code System Requirements for Linux
- OS: Ubuntu 16.04 or later, Fedora, or Debian-based Linux distributions
- RAM: 1 GB minimum
- Disk Space: 200 MB minimum
How to Install Visual Studio Code: Step-by-Step Guide
Once you've confirmed that your system meets the requirements, you can proceed with the installation of Visual Studio Code. Below is a step-by-step guide for installing VS Code on Windows, macOS, and Linux.
How to Install VS Code on Windows-
Download the VS Code Installer
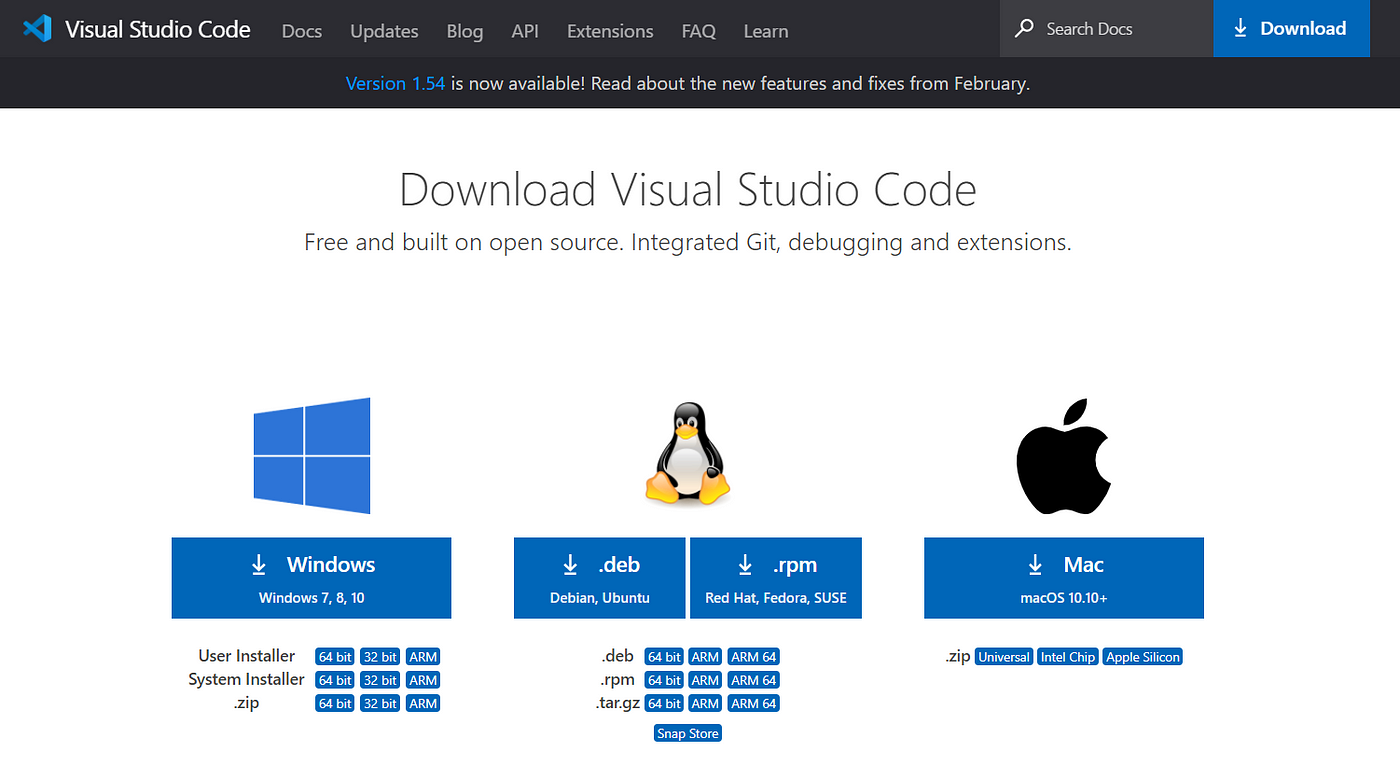
- Go to the official VS Code download page and click the Windows button to download the installer.
-
Run the Installer
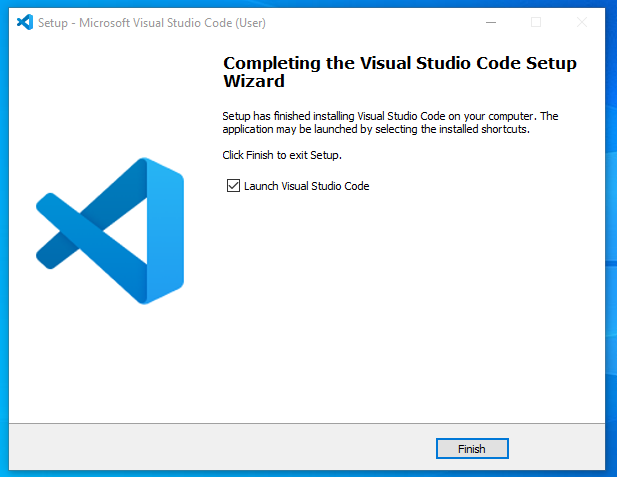
- Once the installer is downloaded, open the file to begin the installation process.
- Follow the prompts in the setup wizard to install Visual Studio Code on your system.
- Ensure you check the box to add VS Code to your PATH for easier command-line access.
-
Launch VS Code
- After installation is complete, click on the Launch button, or you can open it later from the Start Menu.
How to Install VS Code on macOS
-
Download the macOS Version
- Head to the official VS Code download page and select the macOS version.
-
Drag VS Code to Applications
- After downloading, open the
.dmgfile, and drag the VS Code application to the Applications folder.
- After downloading, open the
-
Open VS Code
- You can now open VS Code from the Applications folder. The first time you open it, macOS may ask you to confirm that you want to open the app.
How to Install VS Code on Linux
-
Download Using Package Manager
- For Ubuntu/Debian-based distributions, open the terminal and run the following commands:sudo apt updatesudo apt install code
-
Install via Snap (Alternative Method)
- You can also use the Snap package to install VS Code on Linux. Run the following command:
sudo snap install --classic code
-
Launch VS Code
- After installation, you can launch VS Code by typing
codein the terminal or finding it in your applications list.
- After installation, you can launch VS Code by typing
Download VS Code Now
Now that you’re aware of the system requirements and installation process, it's time to download VS Code. Head to the official Visual Studio Code Download Page to get the latest version for your operating system.
Conclusion
Congratulations, you’ve successfully installed Visual Studio Code on your system! Whether you’re working on web development, Python scripting, or other programming projects, VS Code is an excellent tool to help you write and manage your code efficiently.
To enhance your VS Code experience, check out our other blog posts:
Ready to get started with VS Code? Install your favorite extensions and start coding today!


0 Comments