
Adobe Premiere Pro is one of the most powerful and widely-used video editing tools in the world. Whether you’re a beginner or a seasoned professional, this software provides everything you need to create high-quality videos. In this article, we’ll dive deep into how to use Adobe Premiere Pro, including its system requirements, installation process, key features, and how to get started with video editing.
Before we jump into the usage of Adobe Premiere Pro, it’s essential to know whether your system is ready for the task. Here are the system requirements for Adobe Premiere Pro CC:
Minimum System Requirements
- Operating System: Windows 10 (64-bit) or macOS 10.15 or later
- Processor: Intel 6th Gen or newer CPU (i5 or higher) / AMD Ryzen 5 or higher
- RAM: 8 GB of RAM (16 GB recommended)
- Graphics: 2 GB of GPU VRAM (4 GB or higher recommended for 4K or VR editing)
- Hard Drive: 8 GB of available hard-disk space for installation; additional space required for caching and media files
- Display: 1280x800 display (1920x1080 or higher recommended)
- GPU: Metal or OpenCL support for acceleration
Recommended System Requirements
- Operating System: Windows 10 (64-bit) or macOS 10.15 or later
- Processor: Intel Core i7 or AMD Ryzen 7
- RAM: 16 GB or higher
- Graphics: 4 GB or higher VRAM, compatible with DirectX 12 or Metal for macOS
- Hard Drive: SSD with at least 10 GB of free space
- Display: 1920x1080 or higher resolution, preferably a 4K monitor for detailed editing
Additional Software
- QuickTime 7.6.6 (for QuickTime users)
- Java Runtime Environment (JRE) 8 or later
- Graphics Drivers: Ensure you have the latest drivers for GPU acceleration
Installing Adobe Premiere Pro CC
Once you’ve confirmed that your system meets the requirements, follow these steps to install Adobe Premiere Pro:
Download and Install Adobe Creative Cloud:
- Visit the Adobe Creative Cloud website and download the installer for your system (Windows or macOS).
- Run the installer and create an Adobe account if you don’t already have one.
Install Adobe Premiere Pro:
- After installing Creative Cloud, launch the application and sign in with your Adobe account.
- Search for Adobe Premiere Pro in the Apps tab and click Install. The application will be downloaded and installed automatically.
Launch Premiere Pro:
- Once the installation is complete, click on Launch to open Premiere Pro.
- You can now start a new project or open an existing one.
Starting a New Project in Adobe Premiere Pro
The first time you open Adobe Premiere Pro, it might feel overwhelming due to the large number of panels, tools, and options. However, Premiere Pro has an intuitive workflow that can be customized for your needs. Here’s how you can set up your first project:
1. Create a New Project
- Open Premiere Pro, and you will be presented with the New Project dialog box.
- Enter a name for your project and choose the location where your project files will be saved.
- You can choose to adjust the Video Rendering settings based on your GPU and preferences.
2. Set Sequence Settings
- A sequence defines the format of your video. You will choose a sequence preset based on the resolution, frame rate, and aspect ratio of your footage.
- If you're working with 1080p footage, select a preset that matches the format.
- You can also create a custom sequence setting if you need special resolution or frame rate adjustments.
3. Import Media Files
- Once your project is created, the next step is importing your media files (video clips, images, and audio). You can do this by right-clicking in the Project Panel and selecting Import, or you can simply drag and drop the files into the panel.
- Premiere Pro supports a wide range of media formats, including MP4, MOV, AVI, and many others.
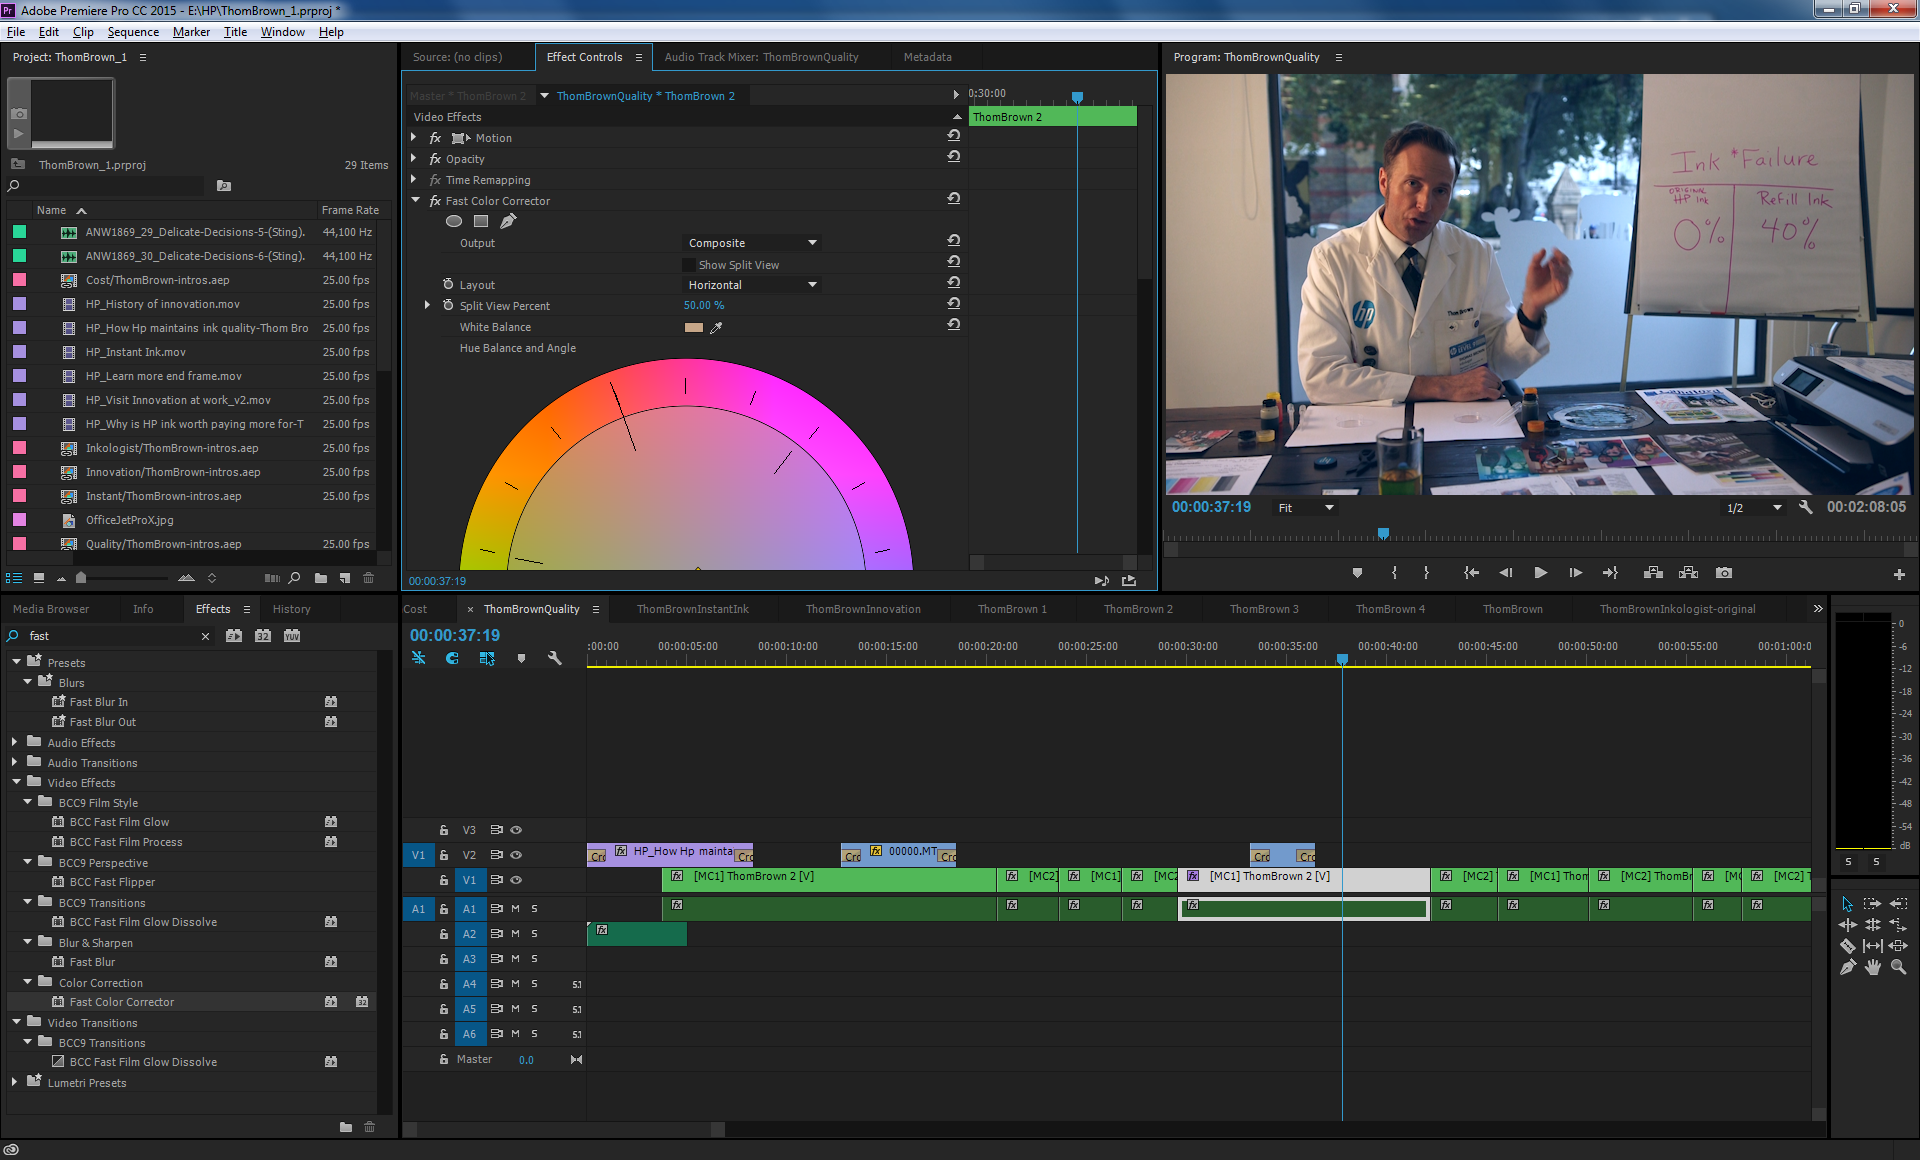
Using the Interface of Adobe Premiere Pro
Adobe Premiere Pro has a highly customizable and user-friendly interface. While it may appear complicated at first glance, once you understand the basic layout, you’ll find the workspace efficient for video editing.
Main Panels and Workspaces
Timeline Panel: This is where your footage is placed for editing. The timeline is divided into multiple tracks, including video tracks (V1, V2, etc.) and audio tracks (A1, A2, etc.).
Program Monitor: This panel shows the playback of your timeline. As you edit, this monitor will display the live preview of your work.
Source Monitor: This allows you to preview clips before placing them in the timeline. You can trim, cut, and adjust clips here.
Project Panel: This is where you organize and manage your media files, including footage, audio, and other assets.
Effects Panel: Here you can access video and audio effects, transitions, and presets. Premiere Pro has a robust collection of built-in effects.
Tools Panel: This panel gives you access to tools like the Razor Tool, Selection Tool, Hand Tool, and more. These tools help you cut, trim, move, and manipulate clips.
Audio and Video Effects: On the right side of the interface, you’ll find the Effects Control Panel. Here, you can adjust the properties of video and audio clips, such as scaling, opacity, volume, and more.
Customizing Your Workspace
- Adobe Premiere Pro allows you to customize your workspace. You can drag panels around, dock them, or create new workspaces according to the tasks you are performing (e.g., color grading, audio editing).
- You can save your custom workspace by going to Window > Workspaces > Save as New Workspace.
Basic Editing in Adobe Premiere Pro
After importing your media and getting familiar with the workspace, it’s time to start editing. Here are the basic editing tasks you can perform in Premiere Pro:
1. Cutting and Trimming Clips
- Use the Selection Tool (V) to move clips along the timeline.
- Use the Razor Tool (C) to cut clips into smaller sections.
- Trim clips by dragging the edges of a clip in the timeline.
2. Adding Transitions
- Premiere Pro offers a wide range of transitions, such as cross dissolves, wipes, and fades. Drag and drop a transition effect between two clips in the timeline to create a smooth transition.
- To adjust the duration of a transition, simply drag the edges of the transition in the timeline.
3. Working with Audio
- Audio is crucial in video editing, and Premiere Pro provides extensive tools for adjusting it. You can use the Audio Mixer to adjust levels and add effects.
- You can also apply audio effects like compression, reverb, or equalization from the Effects Panel.
4. Adding Text and Titles
- To add text or titles, go to the Essential Graphics Panel. You can create simple text or use templates that come with Premiere Pro.
- Use keyframes to animate your text and create dynamic motion.
5. Color Correction and Grading
- Lumetri Color Panel offers a full suite of tools for color grading. You can adjust the color balance, exposure, contrast, and even apply creative LUTs (Look-Up Tables).
- Premiere Pro also provides secondary color correction, allowing you to isolate and adjust specific parts of your footage based on color.
6. Using Motion Graphics
- Adobe Premiere Pro integrates with After Effects, allowing you to create motion graphics and complex visual effects. Use Dynamic Link to import After Effects compositions directly into Premiere Pro.
Exporting Your Video
Once you’ve finished editing, it’s time to export your video. Adobe Premiere Pro offers a range of export settings to cater to various platforms, including YouTube, Instagram, and more.
Export Settings
Choose the Right Format:
- Go to File > Export > Media. From the export dialog box, select the format you want, such as H.264 for online videos.
Resolution and Frame Rate:
- Ensure the resolution and frame rate match your source footage or project requirements.
Bitrate Settings:
- Adjust the bitrate to control the file size and quality of your video. A higher bitrate results in better quality but a larger file size.
Queue or Export:
- You can export directly from Premiere Pro, or you can queue your export in Adobe Media Encoder, allowing you to continue editing while the export process runs.
Conclusion
Adobe Premiere Pro CC is a versatile and robust video editing software that caters to all types of creators, from hobbyists to professionals. With a wide array of features like multi-camera editing, color correction, motion graphics, and audio integration, Premiere Pro ensures that you can produce high-quality content with ease.
This guide has outlined the basics of using Adobe Premiere Pro, from setting up your project to exporting your finished video. By mastering these tools, you’ll be well on your way to creating professional-grade videos.


2 Comments
This is a fantastic breakdown of getting started with Premiere Pro! I really appreciate how you laid out the steps clearly. It got me thinking about different ways to approach video creation. While learning Premiere Pro is super valuable for fine-tuning, I've been experimenting with tools that generate cinematic AI videos from text, like HappyHourse. It's a different workflow, but I'm curious if anyone else here has tried combining those kinds of AI generators with traditional editing software like Premiere? Always looking for ways to speed up the process!
ReplyDeleteThis is a fantastic guide! I really appreciated the breakdown of the installation process – honestly, I was half expecting to pull my hair out, but you made it seem so straightforward. It got me thinking, though, about how much faster some of these initial steps would be if AI could handle them. Speaking of AI for creative projects, have you ever played around with something like seeddance? I've been messing with it for generating some quick visual assets and it's pretty wild how it speeds things up. Keep the great content coming!
ReplyDelete