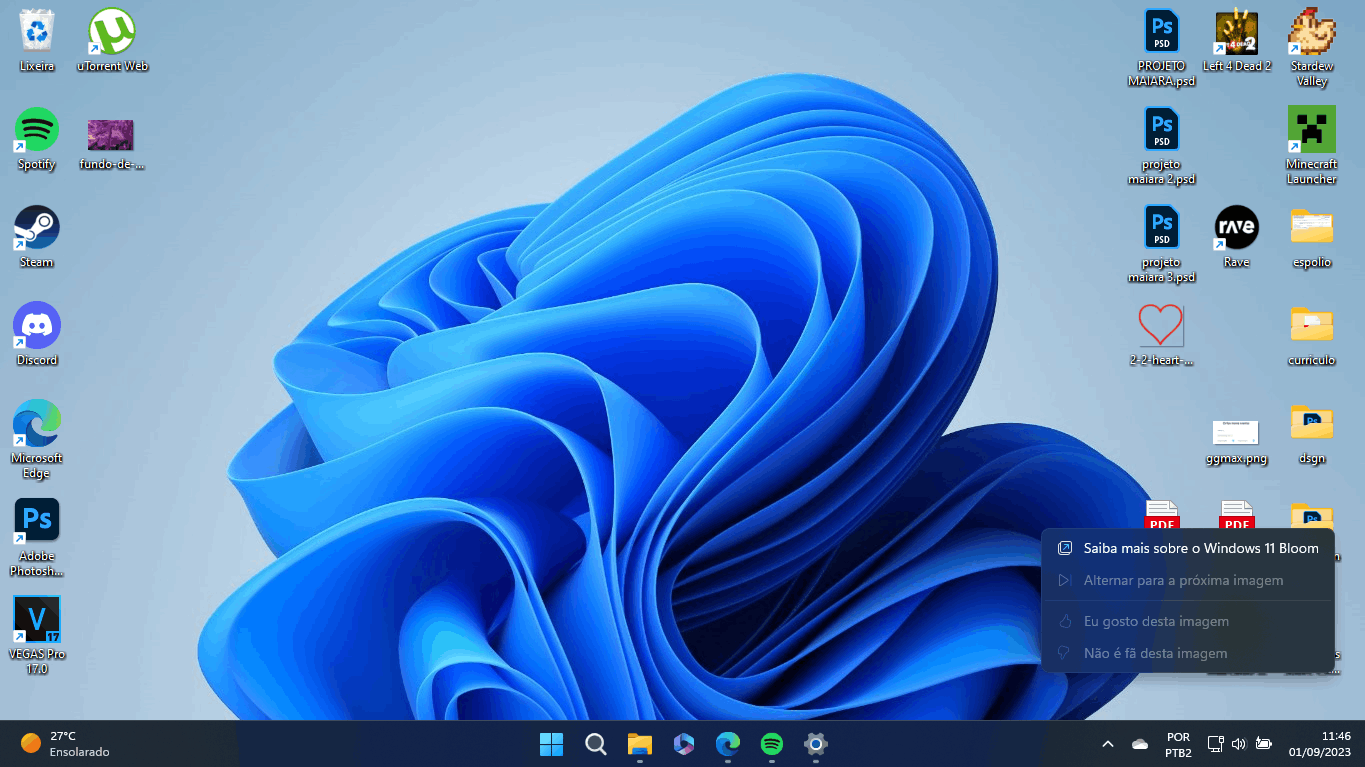
Windows 11 brings a fresh new design and several features that can significantly enhance your computing experience. This guide provides a detailed, step-by-step process for installing Windows 11 on your PC, including how to download, install, activate, set up, and disable Windows Update if desired. Whether you're upgrading from Windows 10 or performing a fresh installation, this guide will make the process smooth and straightforward.
1. Check the System Requirements for Windows 11
Before you begin the installation of Windows 11, it's essential to ensure that your system meets the required specifications. Here are the basic requirements:
- Processor: At least 1 GHz with 2 or more cores on a 64-bit processor.
- RAM: Minimum of 4 GB.
- Storage: A minimum of 64 GB of available storage.
- System Firmware: UEFI, capable of Secure Boot.
- TPM: TPM version 2.0.
- Graphics: DirectX 12 compatible or newer graphics card.
If your system meets these conditions, you're ready to proceed with the installation. If not, you may need to upgrade your hardware first.
2. How to Download Windows 11
To begin your Windows 11 installation, visit the official Microsoft website. On the Windows 11 download page, you’ll find multiple options to begin your download, including:
- Upgrade Now: If you're upgrading from Windows 10.
- Download Tool: This option is for creating a bootable USB drive.
You can download the required files from the following link:
3. Preparing for Installation
Before you start the installation, it’s highly recommended to back up your files. Although Windows 11 should retain your files during the upgrade process, it’s always better to be cautious.
- Backup essential files like documents, photos, and videos.
- Make sure you have a stable internet connection.
4. Installing Windows 11
To start the installation, follow these steps:
- Launch the Installation Tool: If you're upgrading, double-click the installation file. For a clean installation, use a bootable USB drive.
- Follow the Setup Process: Choose your language, time zone, and keyboard preferences, then click "Next."
- Choose the Installation Type: If you want a fresh install, select Custom Install.
- Select the Installation Drive: Pick the partition where you want to install Windows 11. The installer will automatically select the correct drive if you’re upgrading.
- Wait for Installation: The system will begin copying files and installing updates. This process can take a while, so be patient.
5. Setting Up Windows 11
After installation, your PC will restart, and you’ll be prompted to complete the setup:
- Sign in with a Microsoft Account: Log in using your Microsoft account. If you don’t have one, you can create a new account.
- Adjust Privacy Settings: Choose the privacy settings that suit your preferences.
- Personalize Your Experience: Customize themes, colors, and other preferences to make Windows 11 feel like your own.
6. Activating Windows 11
Once Windows 11 is installed, you must activate it to confirm that it’s a legitimate copy. There are two ways to activate:
- Digital License: If you're upgrading from Windows 10, your digital license will automatically activate Windows 11.
- Product Key: If you’re performing a clean installation, you’ll need to enter a valid product key. You can find this key in the packaging or purchase it from Microsoft.
To activate Windows 11, follow these steps:
- Open Settings.
- Navigate to Update & Security > Activation.
- If your system isn't activated, click Change Product Key.
- Enter your product key and click Next to activate your system.
7. Registering Windows 11
To ensure your Windows 11 installation is legitimate, follow these steps to register:
- Open Settings and go to the Update & Security section.
- Click on Activation.
- If your system is not activated, click Change Product Key and enter your key.
Once registered, you’ll receive regular updates from Microsoft.
8. Disabling Windows Update (Optional)
If you want to stop Windows 11 from automatically updating, you can disable Windows Update. This can be helpful in cases where you don't want updates to interfere with your work. To disable it, follow these steps:
- Press Win + R to open the Run dialog.
- Type services.msc and press Enter.
- In the Services window, find Windows Update and double-click it.
- Under the Startup type, select Disabled.
- Click Stop to halt the current update process, then click OK to apply the changes.
9. Updating Windows 11
If you change your mind and want to re-enable Windows Update, follow these steps:
- Go to Settings > Update & Security > Windows Update.
- Click on Check for Updates and install any available updates.
10. Common Installation Issues and Fixes
While installing Windows 11, you may encounter some issues. Below are common problems and their solutions:
- Installation Errors: If you face errors, ensure your PC meets all the required specifications. Restart the installation process if necessary.
- Activation Problems: If your Windows 11 copy isn’t activating, try entering your product key again or contact Microsoft support.
Conclusion
Installing, activating, and registering Windows 11 is a simple process when you follow the necessary steps. Ensure your system meets the requirements, back up your files, and follow the setup wizard. Don’t forget to activate and register your copy to stay secure and up-to-date. If needed, you can also disable Windows Update to control when updates are applied.
For additional information about Windows 11 features and troubleshooting, visit the official Microsoft website.


0 Comments